Sunday, 20 November 2011

Orange Jelly with Soft Chocolate

Ok, this isn't the dessert I'm supposed to make today. I initially planned on making my vanila bean cherry jelly with custard. However, the supermarket didn't have any unflavoured gelatin and vanilla pods so I had to improvise. I scanned the racks and ended up getting orange gelatin. I know it would go well with soft chocolate so hence, that's what I made today. When life gives you lemons, you make lemonade.

 
The ingredients: 
  • A packet of orange jelly
  • A jar of maraschino cherries
  • A small bottle of fresh cream
  • A block of chocolate - milk or dark is up to you
  • A teaspoon of essence of vanilla
The procedure:

 
Boil some water. In a bowl, dissolve the gelatin powder in the hot water and let it cool. Prepare your mould. In my case, I like using ice trays. Throw a cherry into each mould and put the ice trays in the refrigerator to let the gelatin cool and set.

 
To melt chocolate, you need a double boiler. I don't own one so I use my sauce pan and a glass bowl. My glass bowl is pyrex so I know it can take some heat. Before you use a glass bowl, make sure that it can be used for cooking. Alternatively, you can use a stainless bowl. Boil some water in the sauce pan and put the bowl on top. If it slides in, that's alright as well so long as the water doesn't get into the bowl. Once the chocolate starts melting, pour in the cream and stir. Put in a teaspoon of the vanilla essence. Mix well and let it cool.

 
Now take out your orange jelly from the ice trays and put it in a large bowl. Pour the remainder of the cherries and pour your chocolate sauce on top. Simple, easy and delicious!

 
Here are some photos.


pour the hot water over ther gelatin powder. (or sticks)
 
make sure it is dissoilved properly.
 
pour it into your mould.

put the cherries in.

boil some water and put your chocolate in.

let it melt.

pour the fresh cream.

add some vanilla essence.

keep on stirring.
 
refrigerate both ingredients then serve.
If you want to make chocolate sauce, just add more cream. Here's some trivia - in the olden days, gelatin was made by boiling beef cartilage as it naturally coagulated. These days, most gelatin is based on sea weed. However, the ones made from beef is still available and is excellent for savoury gelatin. Check the ingredients when you buy your gelatin so you don't make the mistake of buying the wrong type.

Enjoy! Ciao!

Thursday, 17 November 2011

Eating a Stone Fish

A stone fish is the world's most poisonous fish. It is a common fish found along coral reefs and is quite abundant along the Great Barrier Reef. It's appearance is that of a stone as its skin is rough and jagged and its colour is greyish.

A lot of divers mitakenly step on these fish thinking that they are stepping on stones and thus get poisoned by its venomous spikes which come out when the fish is threatened. The effects of the venom are quick to set in and swelling as well as paralysis quickly set in. If not treated promptly, the poison can cause death.

In Papua New Guinea, this is a delicacy! I love eating it! Its meat is very tender with a slightly rubbery texture. The chef takes off the skin as well as the bladder sac and other innards which effectively takes out all traces of poison. The fish is then fried and drizzled in a light soy-based sauce. It is delicious and I usually have it with congee.

If you come here, you should definitely try it. Here are a couple of photos:

here's the stone fish being caught by a net.
sliced, lightly fried and drizzled with sauce.

The stone fish is a bony fish as you can see in the photo above but there is still plenty of meat to eat. Message me if you want to find where you can eat this delicious fish.

Ciao!

Tuesday, 15 November 2011

Leica V-Lux 1

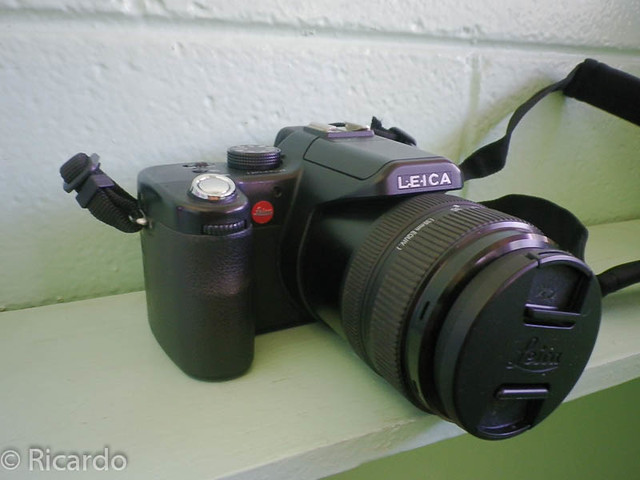
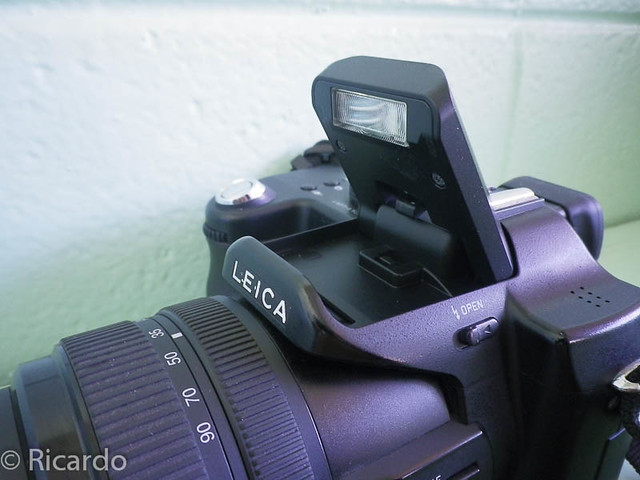
The V-Lux 1 is a bridge camera. Now what exactly is that? It's a type of camera that is not a SLR but is now a compact either. Other names for it are superzooms or fixed-lens cameras. They are for enthusiasts who want improved features over a compact. However, the lens is fixed and cannot be interchanged. This is good for highly dusty environments such as PNG.


The V-Lux 1 came out in 2006 and my unit was one of the first to come out as I pre-ordered it even before it came out. It has a 12x zoom. ISO performance isn't stellar and images become noisy at ISO400. I prefer keeping my ISO at 100 and use a flash when needed. I use it as my travel camera and I love it!


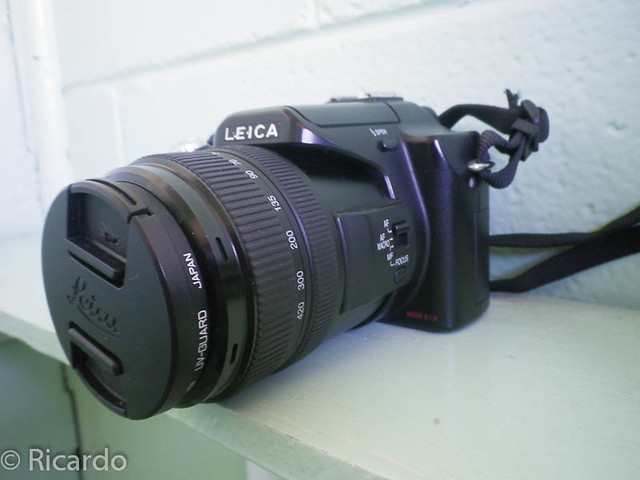
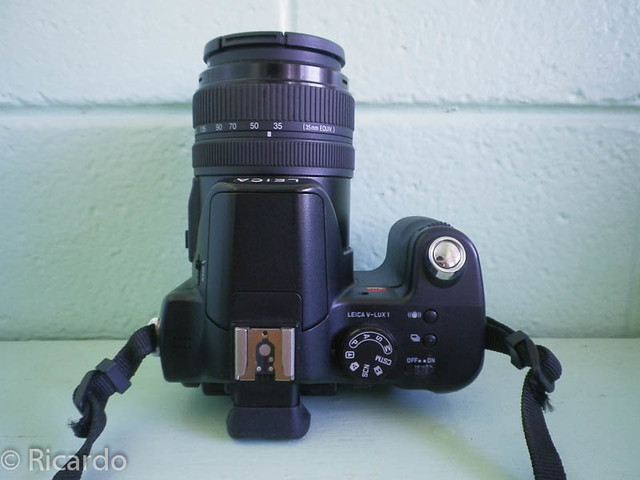
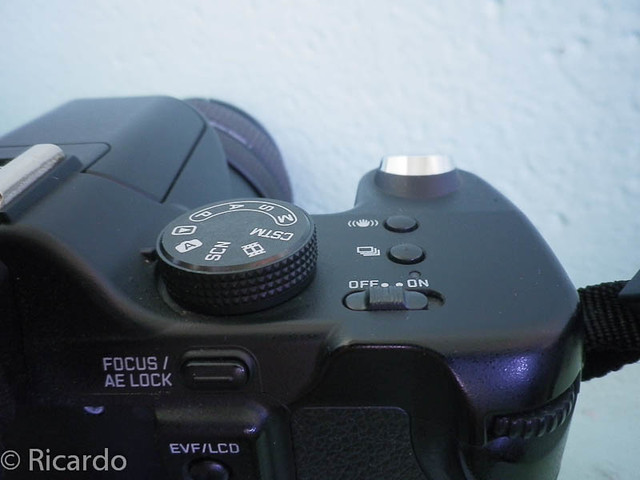
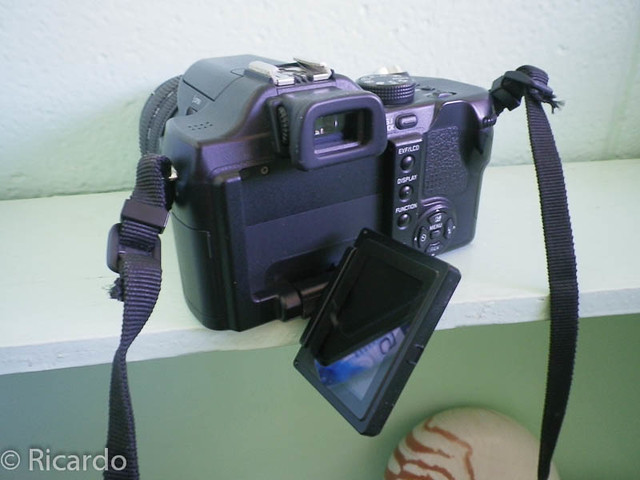
It has two dials to control aperture and shutter speed similar to Nikons. The grip is ergonomic and fits snugly in my hand. I can easily operate it with one hand. The pop-up flash is manually opened, a feature I prefer as battery operated ones tend to get stuck. The zoom is manual, another feature I prefer. Autofocus is ok and you can adjust the focus point using the selector at the back. There is also an option for manual focus which magnifies the centre area of the image to help you focus. I believe this is the pre-cursor to live view.


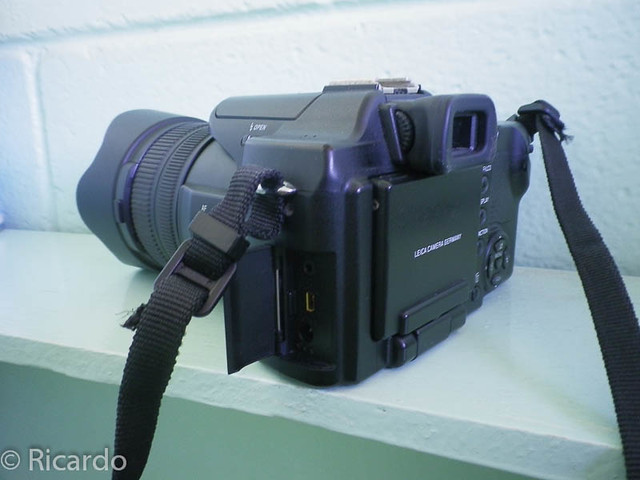
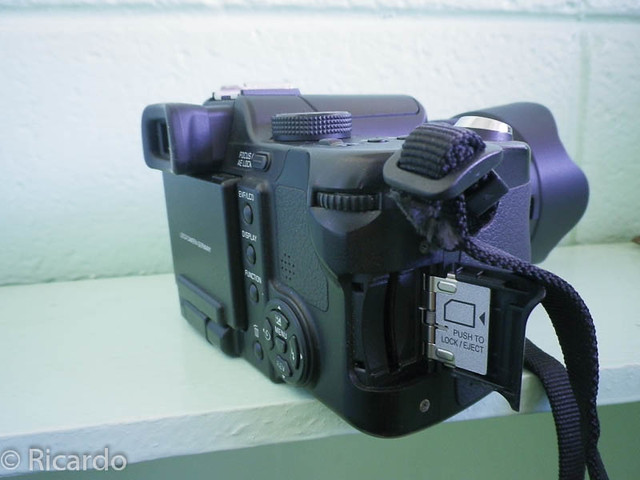
There are three doors on this camera. The battery compartment is accessed through the bottom. The SD card is accessed on the right side and connectors can be accessed through the left door. There is also a tripod thread located right at the bottom of the base of the lens.


It has an electronic viewfinder, another feature ahead of its time as well as a 2-inch articulating screen. These are features common on today's cameras but back in 2007, this was totally new.


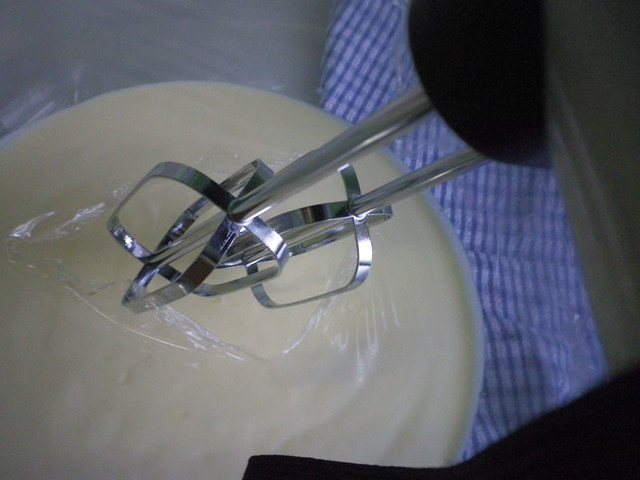
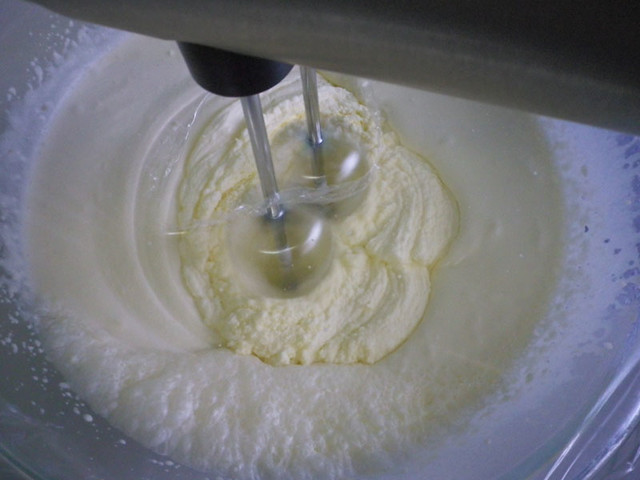
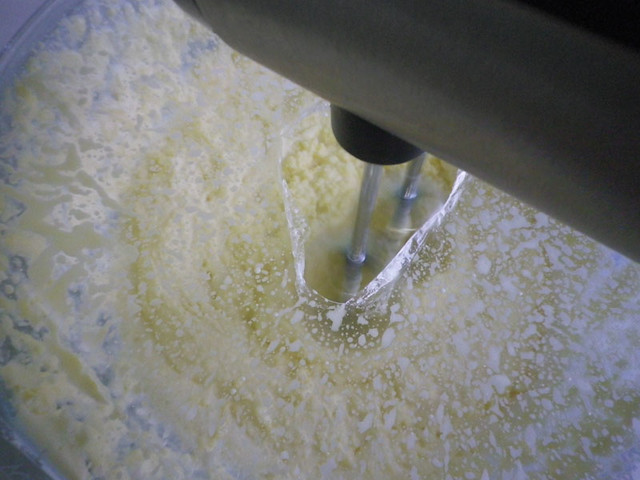
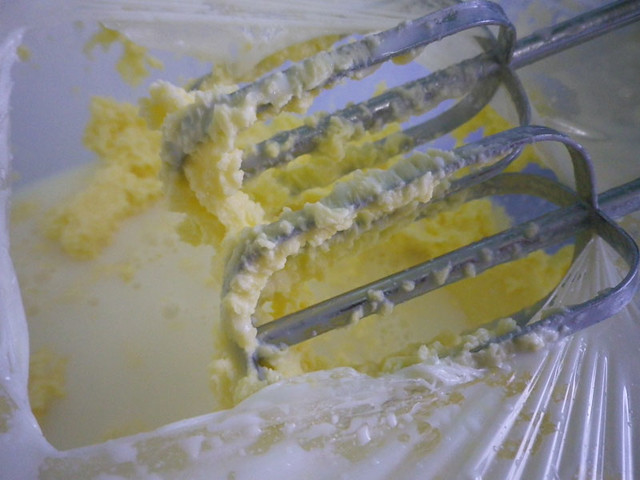
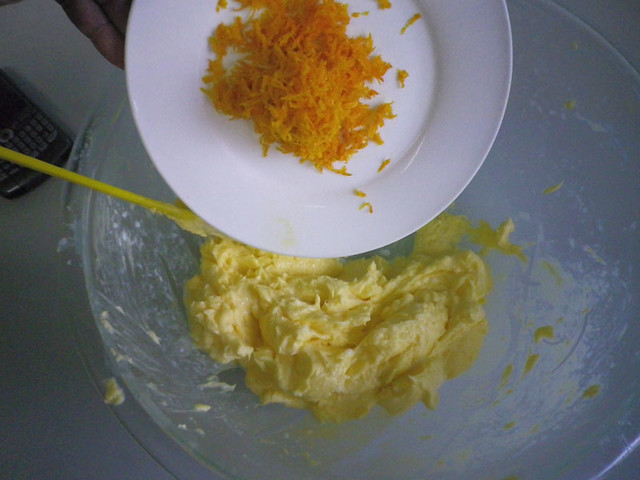
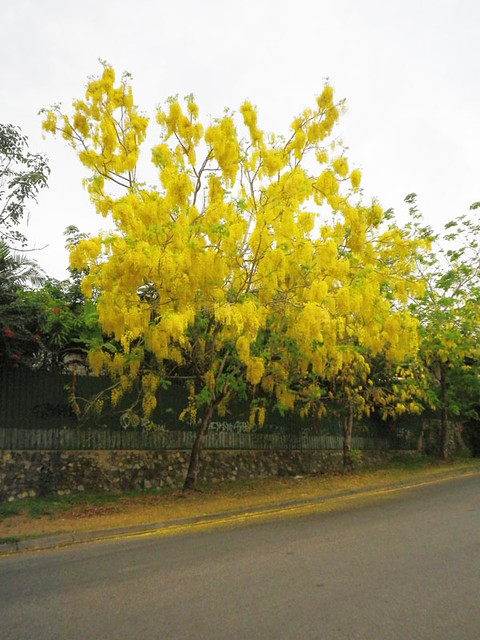
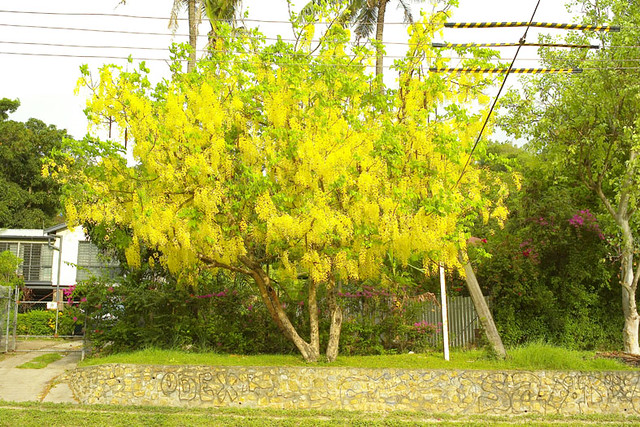
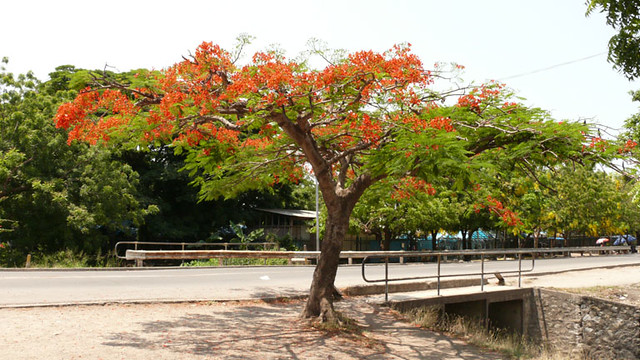
This camera has been discontinued but it still packs a punch and I will keep on using it until it dies on me. In fact, I just bought extra batteries for it. Here are a few samples from 2007 when I first got it.


These photos have not been edited. All I have done is add my watermark.

New versions of the V-Lux were released this year and I encourage all budding amateurs to check them out. You can also check out their Panasonic counterparts. The only difference is the firmware and the badge.

Ciao!

Saturday, 12 November 2011

Orange Rosemary Butter

Good things come from cows I always say. Steaks, burgers, bone marrow, ice cream, cheese and butter! Butter is a favourite ingredient for me in a lot of dishes I make as well as a topping for all sorts of food. Almost everything tastes better with a bit of butter in my opinion. With this in mind, I set forth with making a compound butter infused with orange and rosemary, a favourite flavour combination of mine.

 
The ingredients:
  • 1 litre Thickened or heavy cream
  • Zest from 2 oranges
  • Salt
  • Rosemary
 The procedure:

 
Zest your 2 oranges. You get the zest from the rind where the orange's essential oils are. You can use a fine grater but be careful you don't overdo it as it can get bitter. What you're after is just the top-most layer of the orange's rind. Now chop your rosemary up and set these 2 ingredients aside.

 
Pour your cream into a bowl and cover it with some plastic wrap. If you have a mixing bowl with a cover, then use the cover. The cream will splatter all over your kitchen so it is important that you cover it. Now put your mixer in and put it on low. You can do this manually without a mixer but it will take you about a few hours of continuous churning to get the same result. Now keep on mixing the cream until it stiffens and then breaks down and separates. You'll know it as it will splatter everywhere inside the bowl. (Now aren't you glad you covered it?)

 
Once you uncover the bowl, you'll see that there's something yellow and something milky inside. The yellow stuff is butter! Separate the liquid which is buttermilk and the butter. Strain it so that all the buttermilk has been squeezed out. Mix some salt in and then mix your orange zest and rosemary. Now put in a container and throw it in the refrigerator so it can solidify. Voila! Orange Rosemary Butter! Now where do you use it? On steaks, on muffins and waffles or whatever you wish! 

 
Here are some photos:

 
zest the orange by removing the top-most layer from the rind.
orange zest.
chopped rosemary.
thickened cream.
pour your cream into the bowl.
cover the bowl.
make sure you have a hole for the mixer to go through the cover.
put your mixer in and start it up.
as the cream breaksdown and separates, you'll see it change right in front of your eyes.
just before it turns into butter, it will splatter everywhere!
there you go! fresh butter!
open the bowl and you'll see the butter and buttermilk.
squeeze the buttermilk from the butter and strain it.
the butter would be very soft.
mix in some salt.
throw in the orange zest.
pour in the rosemary.
put the compound butter into a container and put it in your refrigerator.

 
If you prefer plain butter, then just don't put in the orange zest and rosemary. And orange zest can leave a stain on some plates. It's best to quickly wash it after.

 
Ciao!


Thursday, 10 November 2011

Port Moresby before Summer

Port Moresby has an unusually stable climate. It's always warm and rarely wet. During the rainy season, it can get a bit brown and the dust will start flying around. During the wet season, the city becomes a brilliant green as plants are everywhere throughout the whole city which is one of the things I love about Port Moresby.

During summer, the city becomes exceptionally colourful. This happens from around mid to late October to early December. Flowers start blooming everywhere to mark what would probably be the city's Spring season. Fire trees become bright red-orange and there are these trees that just turn wholly yellow. Bees start buzzing everywhere as they hurriedly gather the sweet nectar from the various flowers which they turn into honey.

Here are some photos for you to appreciate.


If Port Moresby had done a master plan before and planted these trees all over the city, these trees could have been turned into an attraction just like the Cherry Blossoms of Japan. If you live in Port Moresby, now is the best time to take your camera out and start photographing the city!

Ciao.